How to Set Up Clinics
Clinic refers to the treatment location where you see patients. The number of clinics you can work with in the software is determined by your software license.
View Your Clinic List and Information
-
On the Home Nav Bar click Setup/Admin.
-
Click Clinical Setup.
-
Click the Clinics button.
-
Click the Add button to add a new clinic OR select a clinic and click Change.
-
Make entries on each tab as required.
General Tab
This screen displays basic contact information for the clinic. It includes fields where large health systems can group clinics into Regions, Districts, or Complexes. These fields are displayed only if your organization is licensed to use Net Health Employee Health and Occupational Medicine at more than one location.
To create the link to a Region, District or Complex, first make sure that these codes are set up! Then, click the magnifying glass to the right of the desired field, and link to the appropriate region, district or complex. These fields have two uses:
-
Reporting: Many reports can be limited to or grouped by these fields.
-
User Access: When a users access rights are set up, the user can be restricted to or excluded from clinics and companies that are members of the indicated Region, District, or Complex.
Primary Services field ("Program Flow" parameter)
Click the down arrow to the right of this field.
-
If you have licensed the software to use in a clinic that is primarily Occupational Health, make that selection. This will mean a few extra mouse clicks to check in a patient who is Private Practice. If this clinic's patient load is primarily Occupationally-related, make this selection.
-
If you have licensed the software to use in a clinic that is primarily Family/Private Practice, make that selection. This will mean a few extra mouse click to check in a patient who is an Occupational Health or Workers' Comp patient. If this clinic's patient load is primarily Family Practice or Urgent Care, make this selection.
Printers tab
This screen allows you to direct certain types of reports to specific printers. In general, when reporting from the software, the default printer for the users computer is where reports will be directed. However, this screen allows you to designate a specific printer to be used for each of the following:
-
Check-In Printer: Select the printer from your list of printers and indicate the number of copies to print of each Encounter Form.
-
Check-Out Printer: Select the printer and indicate the number of copies to print of the Encounter Summary/Work Status Form.
-
Labels Printer: Select the printer, enter the number of labels to print when printing Encounter Forms, and the format for the labels. (Note: Labels will not print unless a printer is selected. Just entering a number and format is insufficient.)
-
Misc Forms Printer: Selects the default printer for User Defined Encounter Forms. This can be overridden for a specific form when that form is added to a protocol.
-
Prescription Printer: Select the printer and enter the default number of copies to print. Prescriptions are printed from the Scripts button on the [Prescriptions from this Visit] window accessed from the Prescriptions button on the EMR Menu Bar.
-
Med Labels Printer: Used to print labels for medications dispensed in-house from the Net Health Employee Health and Occupational Medicine EMR. This is done from the Medication Order record.
Add a Printer
-
Click on the table icon
 beside the type of report you want to select the printer for.
 -
The a printer selection dialog box will be displayed. Select the printer you want and click OK.
Change or Delete a Printer
-
Click the table icon beside the printer you want to remove. A selection box will appear providing two choices:
-
Clicking Change printer selection will move back through the process described above.
-
Clicking Remove printer selection will remove the printer.
BILLING tab
IDENTIFICATION section:
-
Federal ID: your federal tax ID number
-
Medicare ID:your Medicare ID, if applicable
-
NPI: your National Provider Identification number, if applicable
-
CLIA#:
INVOICING PARAMETERS section:
(Note: This is only applicable if you are set up to bill by clinic in the Billing System Parameters.)
-
Select the form to use for your Workers' Comp invoices
-
Select the form to use for your Private Practice invoices
-
Enter the CMS Location of Service code (e.g. 2 for Urgent Care)
-
Enter Insurance Surcharge percentage, if applicable.
Define Clinic Fee Ticket / Super Bill button
The Program allow you to set up a super bill (aka fee ticket) that can be designed to replicate your Workers Comp and Private Practice charge sheet. A master ticket can be set up for both Workers Comp and Private Practice, or a single override ticket can be set up for each Clinic, if you have different needs in different locations. System parameters can be set to print the super bill immediately following the encounter form (except for employer physicals), and also to use it as the entry window when entering charges.
When you click the Define Clinic Fee Ticket / Super Bill button, you will see the same screen that is used to define a master fee ticket / super bill. You can follow those same instructions.
Business Entity
If your organization has licensed business entity functionality, you will see a field at the bottom of the BILLING tab labeled Business Entity. Each clinic must be associated with a business entity. Click the table icon![]() beside the field to select the entity for this clinic.
beside the field to select the entity for this clinic.
GROUP ID# Tab
The GROUP ID# tab allows you to enter special ID numbers for use when billing specific insurance carriers for Private Practice visits. Blue Cross/Blue Shield and Medicare typically require Group ID#s. A Group ID#, if entered, will print in box 33 on the CMS 1500 form.
-
Entering Group ID#s on the [Enter Clinic] window is only significant if you are set up to bill by clinic on the [Billing System Parameters] window.
-
For each individual provider, there is also a PROVIDER ID tab on the [Enter Provider] window. This tab enables you to define a payer-specific ID for the provider. When both a Group ID# and a Provider ID# are defined for a specific payer, the Group ID# prints in box 33 of the Private Carrier claim, and the Provider ID# prints on each line of service in Box 24K.
To enter a Group ID#:
-
Click Add to display the [Enter Entity/Account Group ID] window.\
-
Click the table icon beside the Account field, then search for and select the correct payer account.
-
Enter the Group # to use for this account.
-
Click OK.
-
Repeat steps 1-4 for additional accounts.
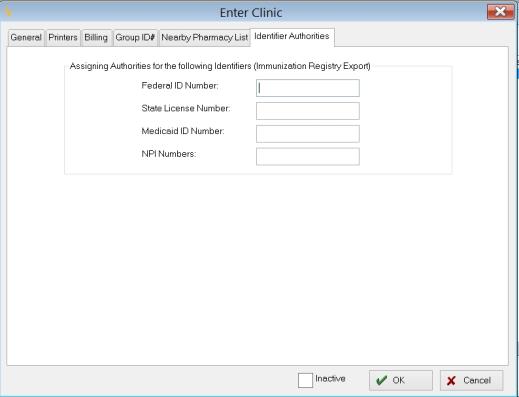
Identifier Authorities
Nearby Pharmacy
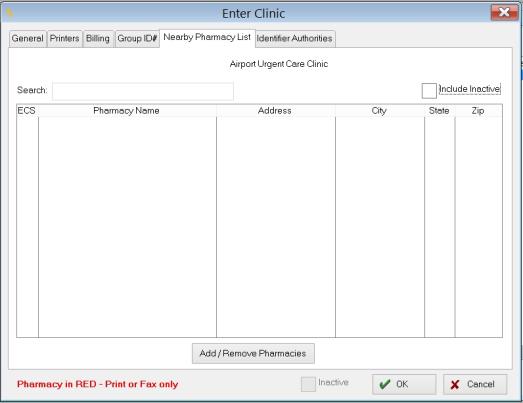
To remove a pharmacy from the list, highlight the specific name and press OK.
Users may Add or Remove pharmacies with this window.
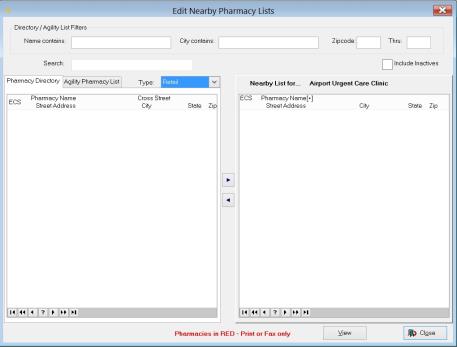
To add a pharmacy to the list, enter the name, address and press OK. Pharmacies may be added to the Nearby Clinic list by using either the General Pharmacy list or the Net Health Employee Health and Occupational Medicine list and then clicking the arrow to move the name to Nearby list. all of the relevant information will be automatically populated.
Site ID
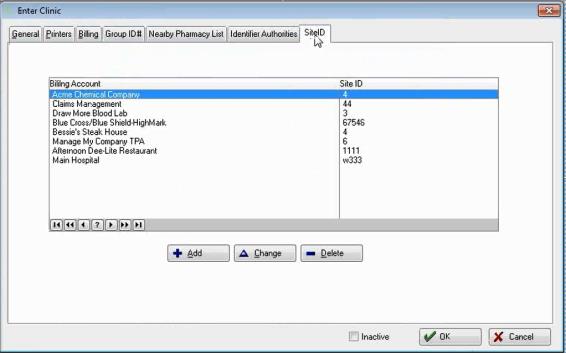
Billing Account Browse List: This browse will list each Billing Account along with each corresponding Site-ID.
Add: Users may add a Billing Account by selecting the Add button, the following window will display:
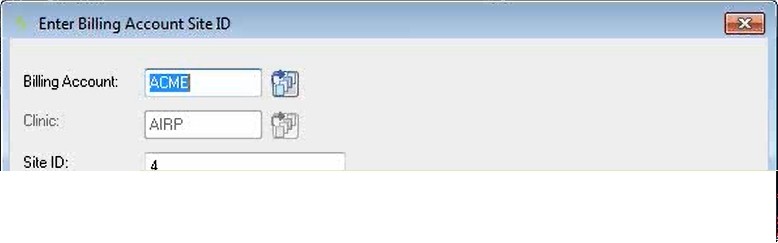
Enter the Billing Account or use the lookup table; then assign the Site-ID. Press OK.
Change: Users can highlight a specific Billing Account and then select Change: Once the Enter Billing Account Site ID window displays, users may change the Billing Account and/or the Site ID. Press OK.
Delete: Users can highlight a specific Billing Account and then select Delete to remove the Site ID. A warning will alert the user they are about to delete the record. Press Yes to delete.