Portal Forms Queue
Navigation Bar

When this icon on the Home Navigation Bar turns green, click it to display a list of interactive forms completed by the user from the Patient/Employee Portal. The following window will display:
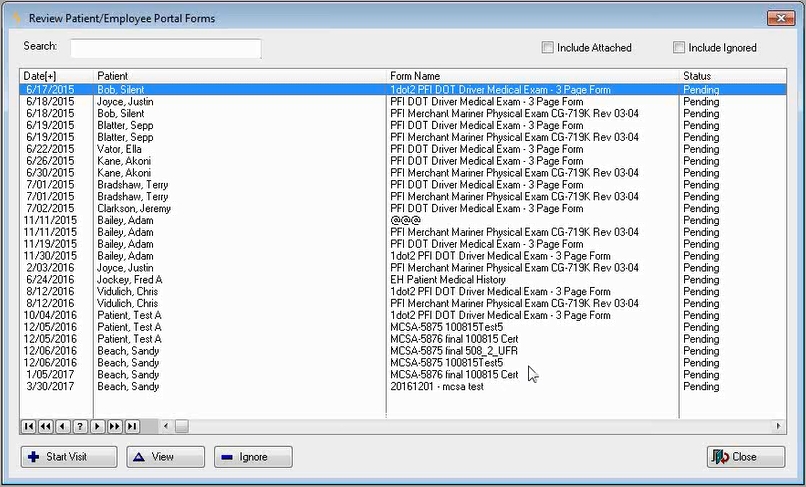
This screen will display (by default), all forms that have been submitted from the portal, but not yet attached or Ignored (Pending Status). For each form listed, the screen will display the Date Submitted, Patient Name, Form Name, and Status (Pending/Attached/Ignored). The columns can be sorted and a Search field is available to locate by Patient Name or Form Name.
Show Attached
If this is selected, all previously attached forms will appear in the list; the Create Visit and Ignore buttons will not be available.
Show Ignored
If this is selected, all previously Ignored forms will appear in the list; the Create Visit and Ignore buttons will not be available.
View
Clicking this button while a form is highlighted will open the interactive form with the data entered by the portal user. A note will display at the bottom left of the window indicating the user, date, and time the form was last reviewed.
Note: If the patient/employee does not have a previous visit, no pre-fill information will populate in the form when viewed. The information entered by the patient or employee in the portal will appear in the form, and when the form is attached to a visit, the pre-fill information that comes from the visit will be updated to reflect that new visit information.
Start Visit
Clicking this button will launch a screen prompting the user to select from a list of companies associated with this patient, add a company, or have the option of selecting Private Practice. Once a company or private practice has been selected, the Enter Visit screen will display.
After selecting a visit category, the Forms tab appears in the Enter Visit Screen. Within that Forms window, the user will be able to navigate to the Portal Forms tab, and attach the submitted form.
This will ensure you may enter any related activities and charting notes based on the information received in the form.
Clicking Start Visit will cause the form’s status to update to Attached, and for it to be removed from the default list. Those forms that are flagged as Attached, will no longer display in the Portal Forms tab of a visit. A note will display at the bottom left of the window indicating the user, date, and time the form was attached.
Note: In order for the Start Visit button to be available, the logged in user must have "Visit Logging / Check-In" capability. This security parameter is located in the Change User Account window under the Roles tab and the Clinic sub-tab.
Ignore
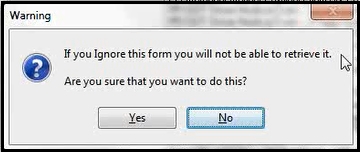
Clicking this button will launch a warning message stating "Warning: If you Ignore this form you will not be able to retrieve it. Are you sure that you want to do this?". The warning will contain two buttons: Yes and No. Clicking No will return the user to the list with no changes. Clicking Yes will remove the selected form from the list, change its status to Ignored and return the user to the Review Portal Forms window. At this point the form can only be viewed from the list. A note will display at the bottom left of the window indicating the user, date, and time the form was ignored.
Close
If this is selected, the software will close the Review Portal Forms window.