Documenting Vital Signs
Summary
There are three areas that vital signs can be recorded within the application. One through the Enter Visit window without the EMR. Through the EMR, vitals can be entered using the Enter Visit window or through the EMR Charting Workspace. The full history for those records can be seen on a special tab on the patient chart which makes it easy to see significant changes over time.
Steps to Record Vital Signs on the RESULTS tab of the Enter Visit window (no EMR)
Select or create a Visit under the Clinic Activity section of the NAV Bar.
Click the Charge tab
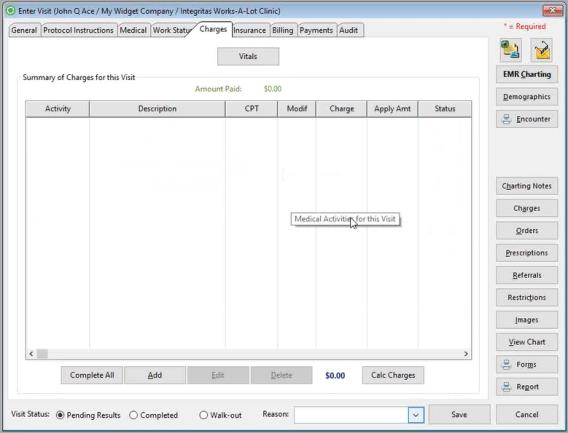
Click the Vitals button.
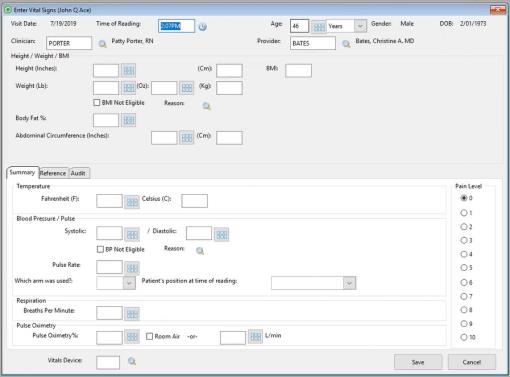
Fill out the available fields.
(Race and Gender are not entered on this window; they are populated from the patient demographic record.)
Click OK
Patient history including vitals can be viewed using the View Patient Chart button at the bottom of the window.
Steps to Record Vital Signs using the Vital Signs button on the EMR Charting Workspace
Click the Record Vitals button on the bottom left of the EMR Workspace.
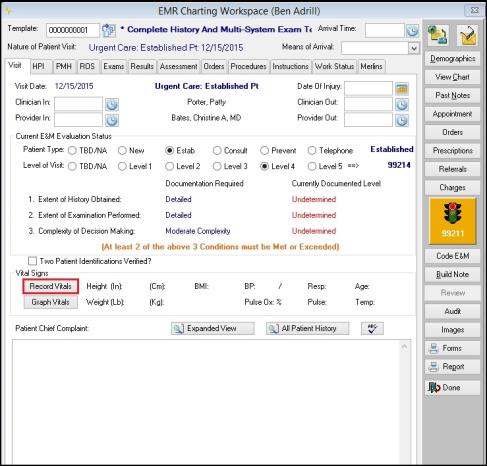
The Enter Vital Signs window opens.
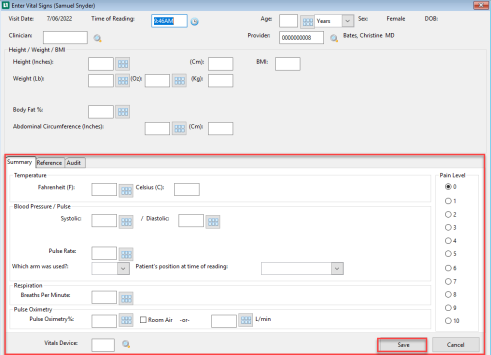
Enter Vital Signs
Fill out the available fields.
Select Save
Steps to Record Multiple Vital Sign Readings through the EMR
For information on how to enter Multiple Vital Sign, readings click here.
Steps to Record Vital Sign Normal Ranges
For more information on how to set up Vital Sign Normal Ranges, click here.
Steps to Graph Vital Sign Readings
For more information on how to Graph Vital Signs, click here.