Users Management
Summary
User management allows clients to Add, Remove, or Edit user access within the application. This management tool is only available to those with the required security access.
Filtering Options on User Window
At the top of the Users window The Last Name, Email, Role and Active fields can be filtered. 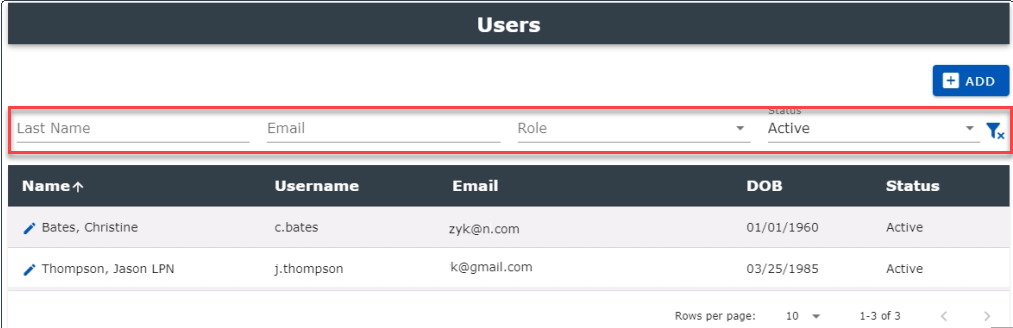
To reset your filters use the filter  .
.
Adding a User
Begin by selecting User Management from the left browse menu.

The User window displays:
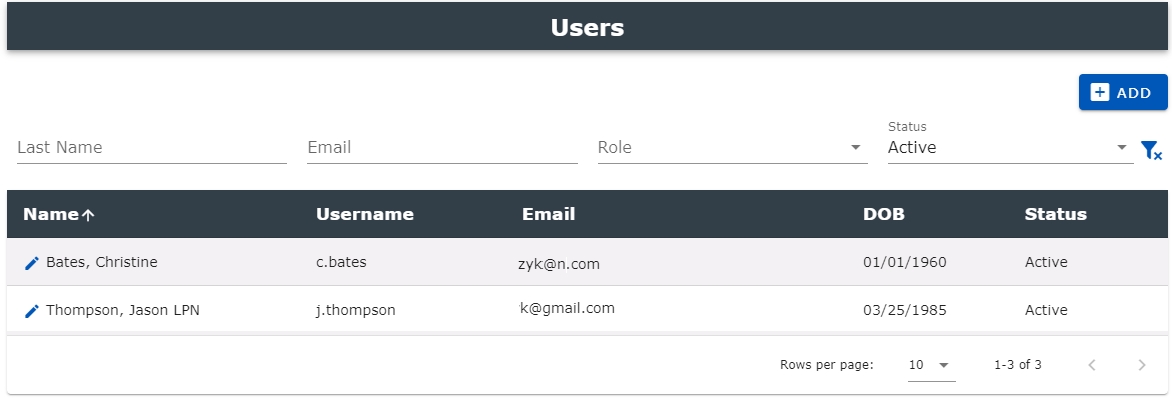
Select the + ADD button at the top right to add a new User.
The Add User window opens:
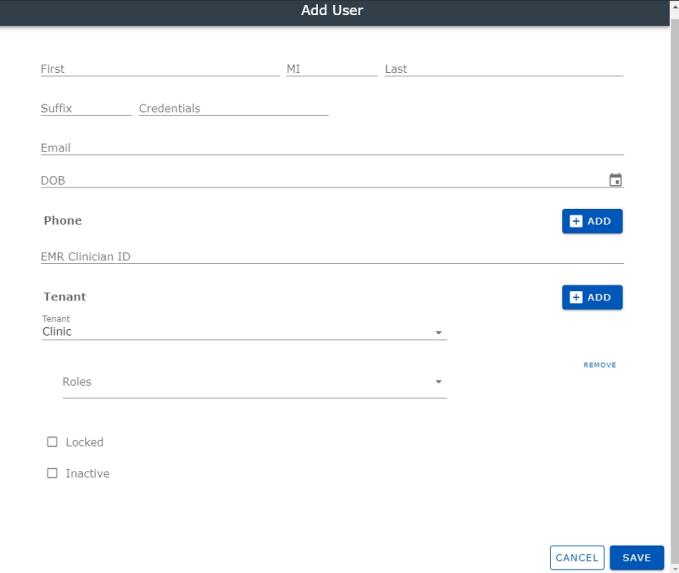
Users should enter the following fields as required:
- First: Enter the user's First name. This field is required.
- MI: Enter the user's Middle initial.
- Last: Enter the user's Last name. This field is required.
- Suffix / Credentials: Enter a suffix or credential descriptor.
- Email: Enter the user's Email. This field is required and will be validated to ensure it is in an email format.
- DOB: Enter the user's Date of Birth in MM/DD/YYYY format or click the calendar icon to the right for assistance in choosing the date. This field is required.
- Phone: Click the "+ ADD" sign to add the user's Phone Number in (999) 999-9999 format. Select the type from the dropdown (e.g. cell, home, etc.).
- Users may add additional Phone Numbers by clicking the + ADD a second time. Click Remove to delete a phone number.

- EMR Clinician ID: Enter the id that the EMR system knows this clinician by. When interfacing the immunization data to the EMR system, this will be the ID that is sent to identify the clinician that administered the vaccine. This is not a required field.
- Tenant: Select the + ADD to add the user's Tenant; the system will default to the logged-in tenant. To change the tenant, select one from the dropdown. Select the user Role from the dropdown.

Users may add additional Tenants and Roles by clicking the + ADD a second time. Select Remove to delete either a Tenant or a Role.
-
Locked: Check this box to either lock or unlock a user account. The account will automatically lock if the user fails to provide the correct login credentials for the specified number of attempts. The default is unchecked. When the user is locked, they cannot log into the Mobile Immunization Tracking application.
-
Inactive: Check this box to make the User profile inactive. The default is unchecked.
- Cancel: Removes your selections and does not save the role rules.
-
Save: Saves your entries under the selected name. At this point, the added user will receive two emails.
The first email will allow him or her to link to the Registration page and the second will provide an Access Code to begin the registration process.
For further information, see Registration.
Edit a User
Begin by selecting User Management from the left browse menu.
The User window displays:
Select a name from the list by double clicking or select the Pencil to the left of the patient's name to make changes to an existing user profile.
You may also enter information in the filter section (see Filtering Options on User Window above) to locate the patient.
You may sort the list by clicking the arrow beside any column title.
The Edit User window displays:
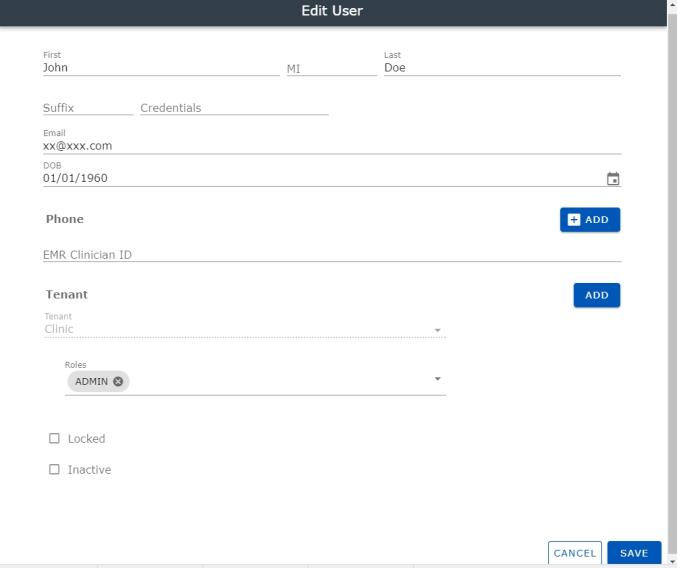
Make your changes to the existing fields as described within the Add function and select Save to alter this User profile.
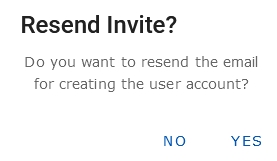
Administrators may re-invite users to create an account when their access code has expired by selecting Yes. Respond No to return to the User profile window.
From here select the name of the user you want to view, edit or inactivate
Select a name from the list or select one to view, edit, or inactivate. You may also begin typing the Last Name, Email, or Role to further filter the list. Highlight the desired user name in the list and click to select it or click the "X" in the column name to reset your list.
New users may be added by selecting the "+ ADD" sign.
- Last Name: Displays the Last Name of the user.
- Email: Displays the Email of the user.
- Role: The Role field allows users to select how the browse window is filtered. Select a role from the dropdown and the screen will refresh and show only users that are assigned that role.
- Status: The Status field to the right of the window allows users to filter the user list to show only users that have a specific status (All, Active, Inactive). Select a status from the dropdown and the screen will refresh.
- Filter Icon: Click the filter icon to the right to reset and filter the list to the original view.
- Add: Click the + ADD button at the top right to Add a new User.
- Edit: Click the "Pencil" icon to the left of the Last Name to make changes to an existing user profile.