On-Demand Labels
The application has the capability to create Patient and Company Address labels using DYMO label printers. A parameter is used to turn the feature on and the button to create the labels is now located at the bottom of the View Patient Chart window. The user has the ability to create custom label sizes via the DYMO Label Printer software. The label size is chosen when printing the label and selecting the label file. If using the 450 DYMO label maker and you are on Release 11.8 or lower the required DYMO version is 8.5.0.1751. For use of DYMO 450 and 550 , if you are on Release 11.9 you will be required to install DYMO Connect software V1.4.3.131
To enable the Label Printing enable this on the Administer Clinic System Setting. On the Misc tab select Enable Patient and Company Address Label Printing with DYMO Label Printers check box.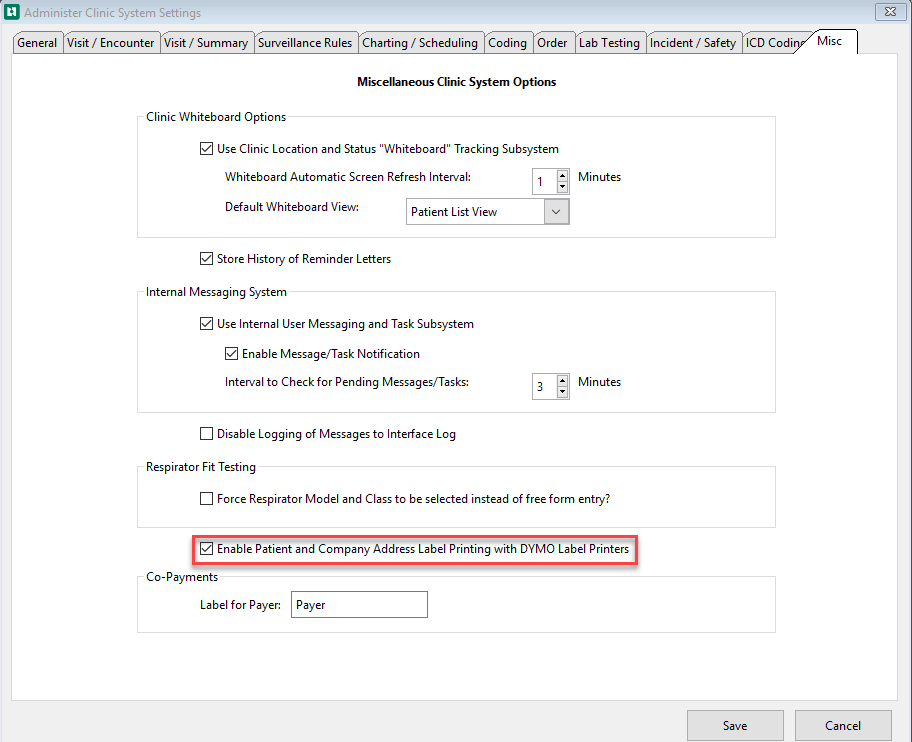
To create a label from the View Patient Chart window select Print Address Label at the bottom of the window:

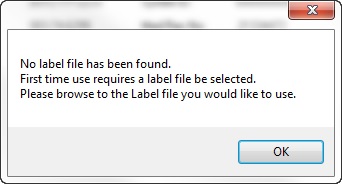
When this function is used for the first time, the following message will display:
This printer capability can also be used in printing Lab Labels for patient forms or specimen tubes.
The Label file that is referenced above is created by using the vendor-supplied software that comes with the printer - its function is to define the print layout. Below is an example of the window where the printing occurs using a specified label layout: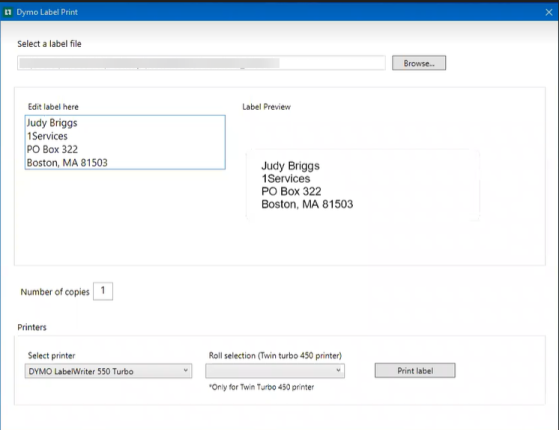
The file will populate if a different file is needed select Browse.
The label can be edited and will show in the Label Preview for your review before printing
Number of copies can be changed by entering the number in the Number of copies field
Select Print labels
To Print Quest Lab Labels
The application allows users that use Quest Labs to print labels to apply to the specimens if the client has the Quest Lab Interface (this is a bidirectional interface). The user will enter the information on the Lab Order tab on the Medical Activity. On the Lab Order tab the Specimen ID will have a Generate button to the right the user will select it and the specimen ID will be automatically generated. This ID will then be sent to Quest and Quest will return a reacquisition to send with the specimen.
Set Up in Clinic System Parameters
For Quest Lab Specimen labels the number of labels can be defined in the Clinic Parameters. See Set Up Clinic System Parameters - Orders tab for more information.
-
From the Home Nav bar
-
Select Setup / Admin
-
Select Clinic Setup
-
Select Clinic System Parameters
-
The Administer Clinic System Settings window opens
-
Select Order tab
-
If using the Quest Lab Interface check the box Allow Generation of Specimen ID (This will assign a number that will be sent to Quest with the request. It will also come back on the Quest Requisition.
-
Assigning the number of labels required this will default to the number set in the Clinic Parameters
-
A Document Type for Lab Order Requisitions and ABN's must be entered.
-
Select Save
Add Medical Activity for Lab Order From Enter Visit
To add a lab medical activity and have the Lab Order tab display the activity enter from Orders on the Enter Visit.
-
Select Orders from the right side of the window

-
The Orders from this Visit for (patient name) opens
-
Select Add from the bottom of the window
-
The Select Visit Order Type window opens
-
Select Lab Order
-
Select OK
-
The Lab Order for (patient name) displays
-
Enter the Summary optional (This is what will show on the Orders from this Visit for (patient name) window.
-
Enter Order Details optional
-
Select Ordered Test(s) / Results(s) from the bottom of the window
-
The Visit Lab Order Activities (patient name) window opens
-
Search for Medical activity
-
Highlight it and double click to add it the Activities for this Visit and Activities for this Order sections of the window.
To Print Quest Lab Order Labels
-
From the Enter Visit window
-
Select Orders
-
The Orders for this Visit for (patient name) opens
-
Highlight the order and double click
-
The Visit Lab Order Activities (patient name) window opens
-
In the Activities for this Order section
-
The Enter Medical Activity (patient name / company) displays
-
Select the Lab Order tab
-
Enter the Specimen ID or use Generate to auto create a number
-
Specimen Source
-
Enter Collection Date
-
Enter Collection Time
-
Select Print Label
The DYMO Label Print window opens.

Make any edits if needed
The number of copies is the number assigned on the Clinical System Parameters (described above) but can be changed as need by entering the number in the Number of copies field.
Select Print label
Setting Up the DYMO Label Maker Using DYMO Connect
If you are setting up your DYMO label maker for the first time follow the steps below.
Labels created in the previous version of the DYMO software will work with the new version.
Step 1:
Open the DYMO Connect App
Step 2:
Select the label size from the White Address Labels dropdown in the lower right corner of the DYMO tab.
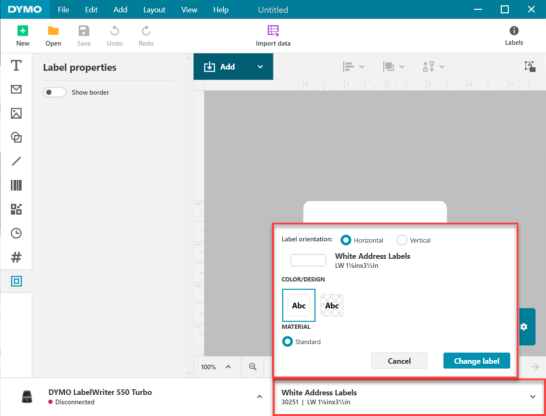
Step 3:
From the Add dropdown select Address.
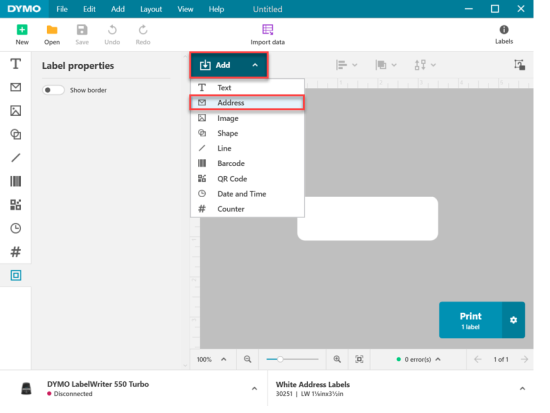
Step 4:
Click in the label and expand it to cover the entire label. Remove the existing address that is defaulted in the field.
![]()
Step 5:
Select Save from the upper left. This will be the label that displays when printing the address label from the Occupational Medicine application.