Print Preview
When you preview a report of any kind, you will see these icons at the top of the screen. Starting from far left to right, these icons perform the following functions. If you point to the icon when in the software, a small pop-up screen tip will tell you the icon's function.
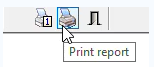
When the Preview Page opens at the top you can perform the functions listed below.

| Icon | Description |
|---|---|

|
Go to first page |
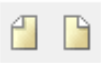
|
Selecting the page on the left is for the previous page and selecting the page on the right is for the next page. |

|
Selecting this icon will take the user to the last page. |

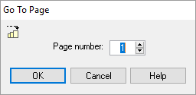
|
Selecting this icon opens a pop-up window to enter the page to go to.
Then select OK. |
|
|
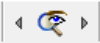
Search for text by Page Icon. Selecting the center icon
Enter the text you are searching for and check the appropriate boxes and after making your selection click OK. These include:
The search does not flag individual instances of the text you enter, but rather, it moves to the first page which has that text at least once. The search back and forward buttons on each side of the Search button moves to the previous and following pages with instances of the text. |
|
Enter the from and thru pages you want to print and select OK.
|

|
Selecting this icon deletes the page that is currently displayed on the screen. |

|
Selecting this icon opens a pop-up window, View and Print defaults. Here you can change the existing defaults.
|

|
|
|
|
|
|
|
|
 opens a pop-up window.
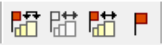
 Select this icon to mark a range of pages by page number (for printing). A pop-up window open for you to enter the range you want to print.
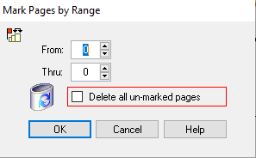
 Selecting this icon will un-mark any pages you have marked.
 Selecting this icon will mark all pages.
 Selecting this icon will mark the page that is currently displayed on the screen.
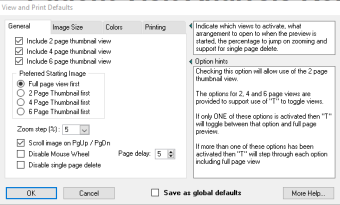
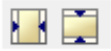
 Selecting this icon will fit the report to the full width of the screen.
 Selecting this icon will fit the report to the full length of the screen.
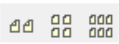
 Selecting this icon changes the view from 1 page to 2 pages.
 Selecting this icon changes the view from 1 to 4 pages.
 Selecting this icon changes the view from 1 to 6 pages.
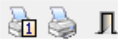
 Selecting this icon will print only the currently displayed page.
 Selecting this icon will print all pages.
 Selecting this icon will cancel the report. A pop-up window displays.
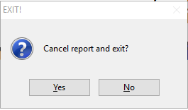
There are places in the software where you might indicate you want to preview more than one report. A few examples are:
-
Printing forms for a spirometry or audiometry test allows you the select multiple forms.
-
Posting multiple invoice batches to A/R.
-
Posting multiple cash receipts batches.
In each of these cases, the program will display one report at a time in the previewer. When you close that report, the next will be displayed. It will not open multiple, simultaneous preview windows.